

How to Use Krea 3: Create Your First Image
For a first Krea 3 edit, start with one clear source image, request one change, and name the details that must stay. Generate a single result and compare it with the source before making more variations. A simple background change is easier to judge than a request that changes the subject, lighting, materials, and camera angle together.
This guide uses a blue desk lamp to walk through that process. You can also try the brief with the available models in the Krea3.ai image workspace. Krea 3 access on Krea3.ai has not been confirmed; for that specific model, use an entry point listed in the Krea 3 release guide.
1. Choose your starting point
Use image-to-image when a particular product, person, or composition needs to remain recognizable. A reference gives you something concrete to compare with the result. For the lamp example, choose a photo that shows the entire shade, stem, and base.
Use text-to-image, where available, when the subject does not exist yet and you want to explore a new image. Describe the subject, placement, light, and final layout. You can decide the details as you explore.
Before submitting, check the selected model and displayed credit cost. In the Krea3.ai workspace, sign in and begin with one output. Save the input and prompt so a later revision has a clear starting point.
2. Write a brief you can check
For a new lamp concept, try:
A small blue ceramic desk lamp on a pale wooden table, viewed at eye level. Soft afternoon light from the right. Place the lamp in the right half of a landscape composition and leave the left half clear for a headline. No lettering.
For an existing lamp, the instruction needs to protect its design:
Use the uploaded lamp as the product source. Keep its shade shape, stem, base, blue finish, and visible cable. Replace the background with a quiet reading corner. Keep the lamp fully in frame, with clear space on the left. Change the setting only; add no lettering.
These are starting briefs, not tested Krea 3 outputs. Replace any detail that does not match your actual photograph. If you need help describing the source, Image to Prompt can draft a description; remove guessed materials or features before using it.
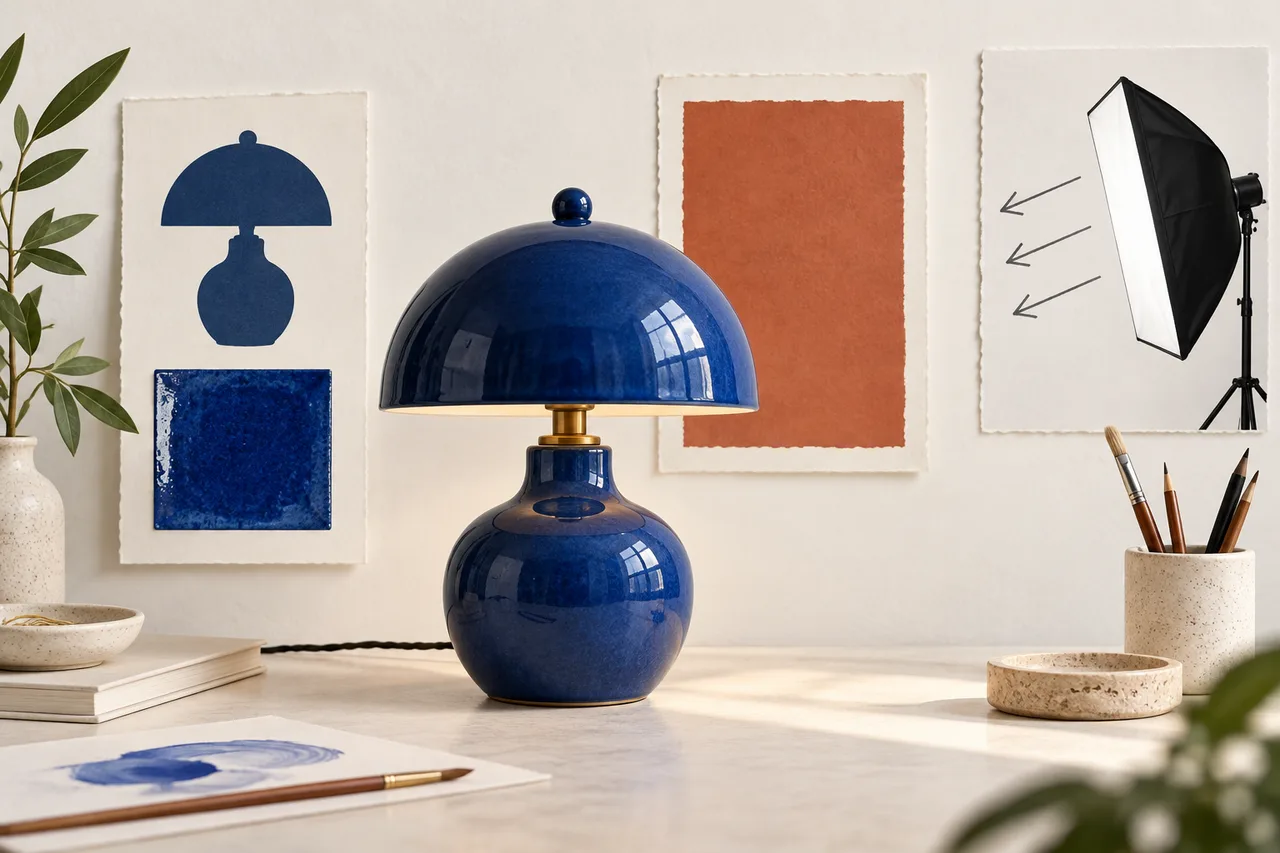
AI-generated planning illustration, not a Krea 3 result or an editor screenshot.
3. Choose references and output size
Begin with one strong reference. Add another only when it explains something the first image cannot show, such as the back of a product or a small fitting. Describe what each attached image contributes. A style reference should not silently become a second product source.
Reference limits vary by entry point. As checked on October 16, 2026:
| Source | Documented reference limit | What it means for your first attempt |
|---|---|---|
| Krea's launch FAQ | Up to 6 images per edit | Stay within the limit shown by the interface you use. |
| fal's Krea 3 edit API | 1–8 input images | Keep their order consistent with the roles in your prompt. |
Neither limit is a reason to upload more images than the task needs. Conflicting views or unrelated references can make the brief harder to interpret.
Choose the aspect ratio for the final placement before generating. A wide banner needs a different composition from a portrait post. Leave room for text instead of hoping a tight crop will work later.
Krea describes the model as native 2K. A 4K export option elsewhere may involve a different model or an enlargement step; it does not establish native 4K output from Krea 3. Inspect the downloaded file's dimensions and detail before delivery.
4. Review the requested change first
Compare the source and output side by side. For the lamp, inspect in this order:
| Check | Accept when | Revise when |
|---|---|---|
| Requested change | The reading-corner setting is present | The old background remains or the scene is wrong |
| Product shape | Shade, stem, and base still match | A joint moves or a component changes shape |
| Surface details | Finish and visible fittings remain plausible | The texture, cable, or markings are invented |
| Layout | The full lamp and headline space fit | The product is cropped or props fill the empty area |
An attractive image can still fail the brief. If the lamp changes, return to the original photo and narrow the instruction. If only the composition fails, revise the placement and empty-space instruction before changing the lighting too.
For a more detailed inspection method, continue with the product-photo editing guide.
5. Resolve a problem before making a larger batch
The upload fails. Check the format, file size, and reference count against the current uploader's limits. Test one clear image first. Re-export an unreadable or oversized file while retaining the detail needed for the edit.
The task is still pending. Check its status before submitting again. Waiting and failure are different states; repeated submissions can create additional jobs. If an error appears, keep its message and the job identifier, when available, for support.
The result changes too much. Remove competing instructions and return to the source. Describe one change and a short list of details to retain. Adding a longer list of vague quality words rarely makes the problem easier to diagnose.
You need several usable images. Approve one small trial first. Record the prompt, input order, settings, and required corrections, then vary one part of the scene. Review each result rather than assuming the first accepted image guarantees a consistent batch.
If you are still deciding between style exploration and a precise edit, read Krea 3 vs Krea 2 before choosing your workflow.
Documentation checked October 16, 2026. Examples and inspection criteria are editorial guidance, not a generation benchmark.